image-renderer


image-renderer is a C++ tool to generate photo-realistic images. It is based on the lectures of the Numerical tecniques for photorealistic image generation course (EN, IT), held by Prof. Maurizio Tomasi in 2021. A nice presentation of our work is available here!
Table of contents
Requirements
The following software is required to build the project:
This project also uses the header-only Argh! library, which is already included in this repository in include/argh.h.
Therefore, you do not need to install it on your system to compile image-renderer.
Building
After obtaining the source code (e.g. by cloning from our GitHub repository) you can build the project with cmake.
Standard Unix and Windows
Run the following shell commands from the project directory:
mkdir build
cd build
cmake ..
make
The executable files are generated in the build directory.
If you use bash, you can enable autocompletion for the program running
source ../tools/bash-completion.bash
To make it permanent, you can add it to your ~/.bashrc file.
macOS (Xcode)
If you wish to use Xcode on your macOS, you can build the project using:
mkdir build
cd build
cmake -G "Xcode" ..
Now that it is all set you can open up the Xcode project built in the build directory and compile it from within the IDE.
If you use bash, you can enable autocompletion for the program running (from the build directory)
source ../tools/bash-completion.bash
To make it permanent, you can add it to your ~/.bashrc file.
Basic tutorial
A demo image
For a quick test, run the following commands from the build directory:
chmod +x ../examples/demo-image.sh
../examples/demo-image.sh
and enjoy the demo.png file.
The script you have just run contains two of the four actions provided by the program: demo and pfm2ldr.
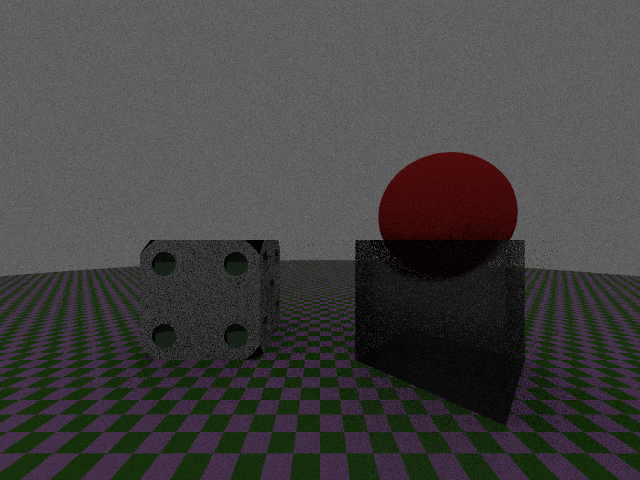
The first one renders an example scene, and allows you to conifgure it a bit. For example,
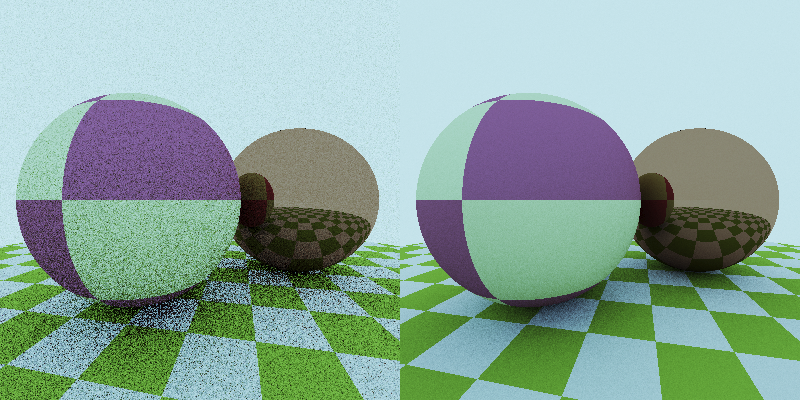
./image-renderer demo --width=500 --height=500 --antialiasing=9 --angleDeg=30 --nMax=5 --roulette=3
will render a 500x500 example scene sampling 9 rays per pixel, rotating the camera by 30 degrees on the z axis and considering at most 5 collisions per ray, starting with the Russian roulette algorithm at 3 collisions. The antialiasing option is useful to sample each pixel properly, avoiding aliasing. Here an example:
Another example of the demo action is
./image-renderer demo -p orthogonal -R flat -o output.pfm
It will generate the output.pfm image using an orthogonal camera and a flat rendering algorithm.
As you can see, you can use both long and short options: for a list of all supported arguments, you can always use the --help flag.
Converting a PFM file to a LDR image with pfm2ldr
The demo action, as well as the render and stack that we will see later, outputs a pfm file. However, we would like to convert it to a LDR image format, such ar png or bmp.
This is the purpose of the pfm2ldr action. A quick usage example:
./image-renderer pfm2ldr --gamma=1.4 demo.pfm
will convert demo.pfm to the demo.png image, using a correction gamma factor of 1.4.
Of course, you can use a different format if you want: supported formats are bmp, gif, jpeg, png, tiff, webp.
./image-renderer pfm2ldr --format=webp --outfile=output.webp --luminosity=2.0 --quality=50 input.pfm
The previous command will convert input.pfm to the output.webp image, with a total luminosity of 2.0 and a webp compression quality of 50.
In particular, the compression quality is a format-dependent argument (different image formats can be configured differently, so make sure to run ./image-renderer pfm2ldr --help to get all the details).
The luminosity instead is a tricky parameter: it is what the program should consider as the total brightness of the scene. This means that if a higher value is passed, single pixels will be less bright with respect to the total luminosity, making the scene darker! In general, you should let the renderer calculate and use the real total luminosity; however, in some cases the results may not be optimal and this parameter might be needed.
rendering custom scenes
We have seen how to render a demo image. However, that can soon get boring: this is why we have also provided a render action.
To see it at work, you can use
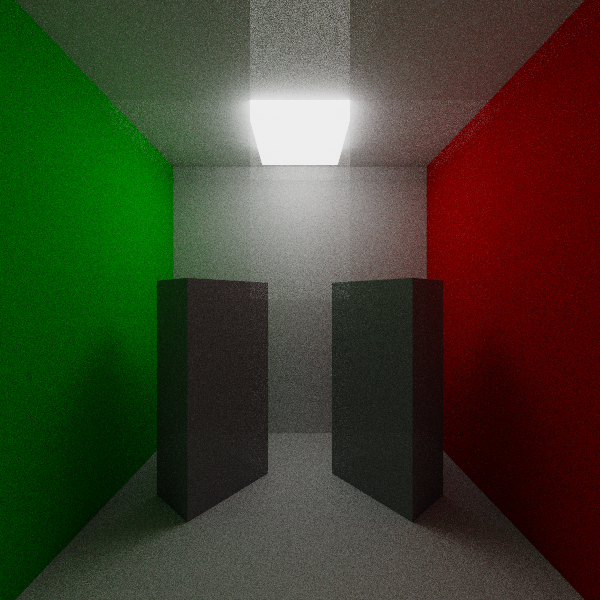
chmod +x ../examples/cornell.sh
../examples/cornell.sh
If you have GNU Parallel installed, you can also use the faster ../examples/cornell-parallel.sh.
Depending on your PC, this script may take some hours, but the result is worth the wait:
The first command in the script makes use of the render action, which is used to parse a file describing a scene (aka scenefile) and generate a corresponding pfm file.
Many arguments are in common with the demo action (except for those about the camera, which is now described in the scenefile). Here is an example:
./image-renderer render ../examples/scene.txt --float="red:0.3"
renders the scene described in ../examples/scene.txt assigning a custom value to the red variable that appears in the file.
The --float option is very useful to render custom animations: if you have FFmpeg installed, you can try it with ../examples/animation.sh (or ../examples/animation-parallel.sh).
If you wish to learn how to make your own scenefiles, scene.txt contains a basic tutorial. Don’t forget to :source ../tools/scenefile.vim for syntax highlighting, if you use vim.
Image stacking
Finally, you’d have surely noticed that there is another action in the cornell.sh script: stack.
It is used to stack many noisy images to get a better looking one by increasing the signal to noise ratio.
For example, if you want to stack 10 images saved as image00.pfm, image01.pfm and so on, you can simply run:
image-renderer stack image*.pfm
This way you will get a stack.pfm image in current directory.
You can choose between meanand median stacking, and also apply sigma-clipping providing a alpha factor: for more info please run image-renderer stack --help.
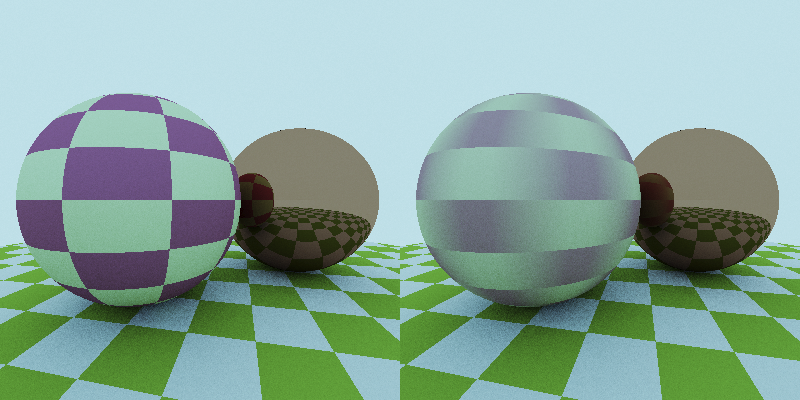
This action is very powerful: as a matter of fact it is not only used to get a better signal to noise ratio, but also for rendering blurry images. Here an example:
Contributing
If you find any problem or wish to contribute, please open an issue or a pull request on our GitHub repository. Thank you!
License
image-renderer is free software, and it is released under version 3 of the GNU General Public License.
Acknowledgements


…and many more to come!